How to Remove Scratches on a Car Simple Guide
Has your car gotten a few scratches? It happens to everyone. Whether it’s from a parking lot door ding or a brush with a bush, scratches can make your car look old and worn out. But don’t worry! You don’t always need to spend a lot of money at a car repair shop to fix them. With a few simple tools and steps, you can remove scratches on your car yourself. This guide will show you how to fix those car paint scratches, saving you time and money.
What Are Car Scratches?
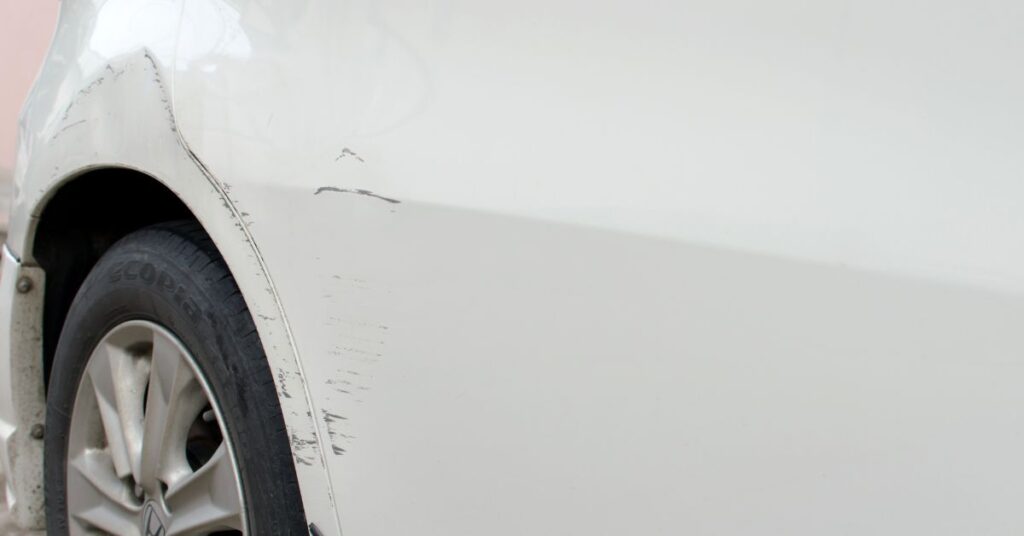
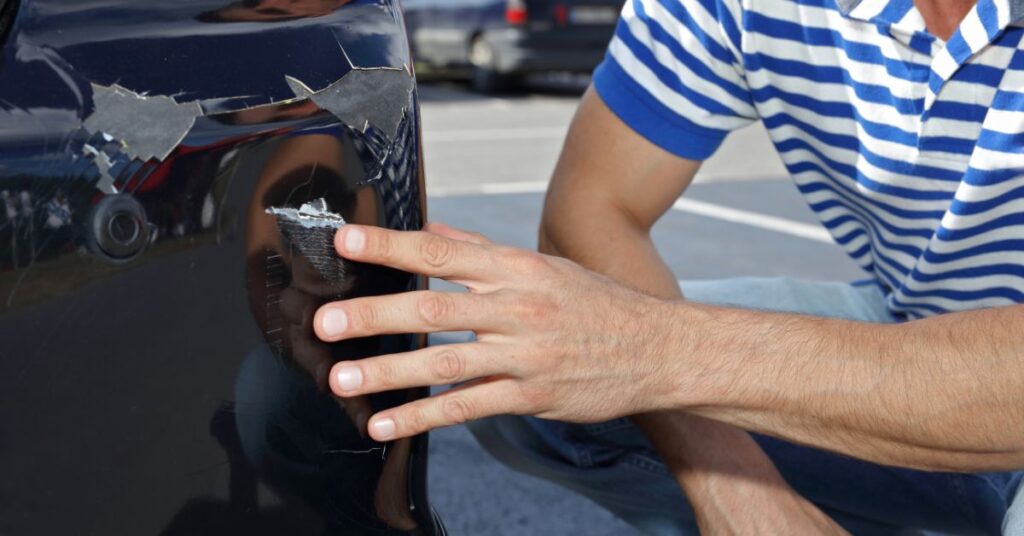
Car scratches are marks or abrasions on your car’s paint. They can be light or deep, depending on how much damage has been done. Some scratches are only on the surface, while others may go deeper into the paint or even to the metal underneath. Understanding the type of scratch you have will help you decide the best way to fix it.
There are three main types of scratches:
- Surface Scratches: These are the easiest to fix. They only affect the clear coat (the top, shiny layer of the paint) and don’t go deep into the paint itself.
- Minor Scratches: These scratches go a little deeper into the color coat. You can still fix them yourself, but it might take a little more work.
- Deep Scratches: These scratches are the hardest to fix. They can go all the way through the paint and into the metal of the car. Deep scratches may require touch-up paint or professional help.
| Method | Scratch Severity | Cost Estimate | Details |
|---|---|---|---|
| DIY Scratch Removal | Light to Medium Scratches | $20 – $80 | Includes scratch repair kits, polishing compounds, and touch-up paint. |
| Professional Repair (Minor) | Surface-level Scratches | $50 – $150 | Buffing or polishing with professional-grade products to fix light scratches. |
| Professional Repair (Medium) | Deeper Scratches | $150 – $300 | Paint correction or touch-up paint applied by professionals for deeper scratches. |
| Professional Repair (Deep) | Deep Scratches (to Metal) | $300 – $1,000+ | Requires bodywork, sanding, and re-painting for scratches that go to the metal. |
| Mobile Scratch Repair (Minor) | Light to Medium Scratches | $50 – $200 | Mobile services that come to you for minor to medium scratch repair. |
| Mobile Scratch Repair (Deep) | Deeper Scratches | $200 – $500 | Mobile services for deeper scratches that require more work. |
What You’ll Need to Fix Car Scratches
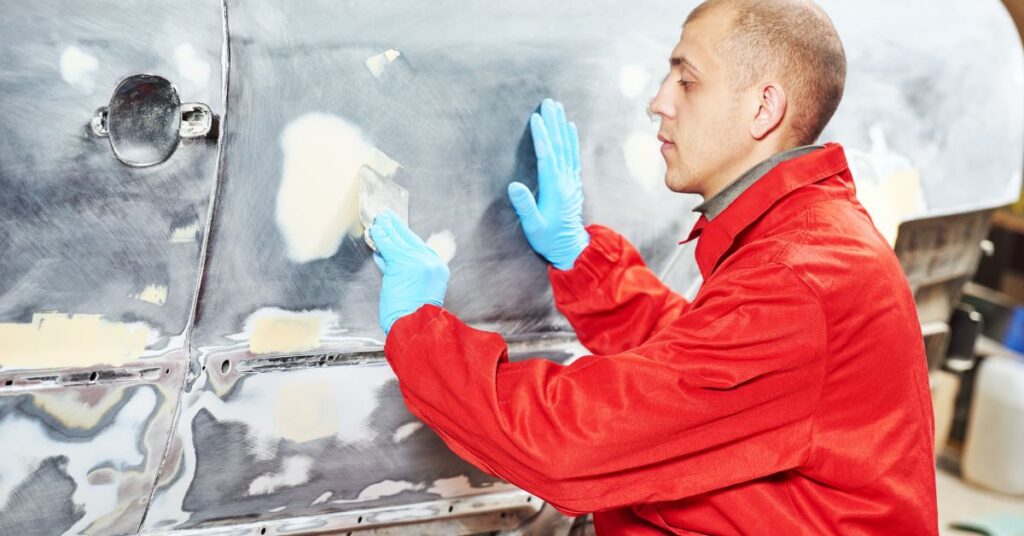
Before you start fixing the scratches on your car, gather all the tools and materials you’ll need. Here’s what you’ll need for the job:
- Microfiber cloths: Soft cloths to clean the area and buff out the scratch.
- Car soap and water: To clean the scratched area and remove any dirt.
- Scratch repair kit: These kits usually come with a compound that helps smooth out the scratch.
- Polishing compound: This helps remove light scratches and gives your car a nice shine.
- Touch-up paint: If the scratch is deeper, you’ll need paint that matches your car’s color. You can find this at an auto parts store or online.
- Wax: After you finish the repair, wax will protect the car’s surface and make it look shiny.
Guide to Fix Car Scratches
Let’s go through the steps to fix your car’s scratches. Don’t worry; you can do it yourself! It’s easier than you might think.
Step 1: Clean the Scratched Area
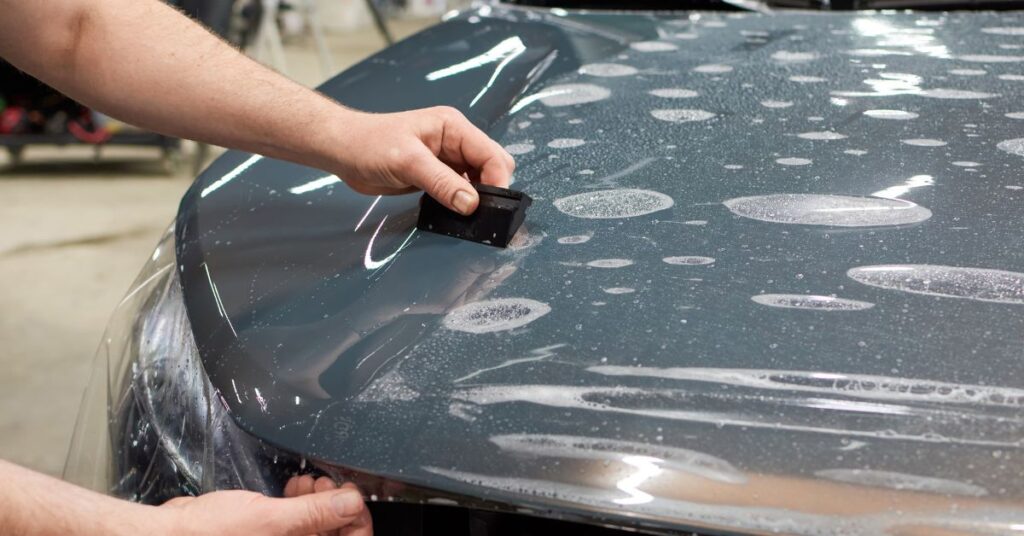
Before you do anything, you need to clean the area around the scratch. Use car soap and water to wash off dirt, dust, and debris. This will make sure you don’t accidentally cause more damage when you start fixing the scratch. Dry the area with a clean, soft microfiber cloth.
Fact: Dirt and grime left on the surface can cause scratches to worsen during repair, so make sure you clean the area thoroughly first.
Step 2: Determine the Type of Scratch
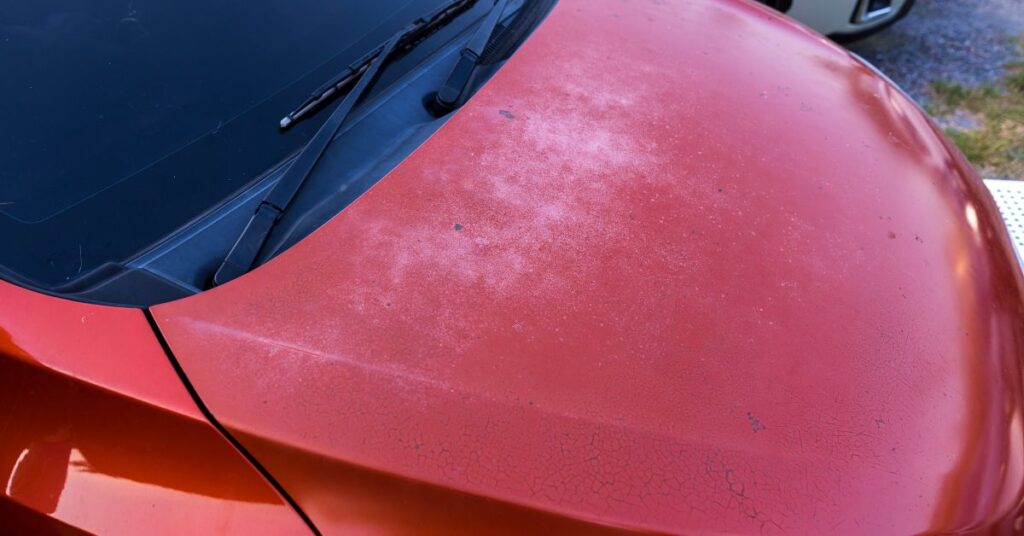
Now, look at the scratch carefully. If it’s just on the clear coat (the shiny top layer), you can fix it easily with a scratch repair kit. If the scratch is deeper, you might need touch-up paint and some extra steps.
If you’re dealing with a surface scratch, you can use a polishing compound. If it’s a minor scratch, you’ll need a scratch repair kit that has both a rubbing compound and a finishing polish. For a deep scratch, you’ll have to use touch-up paint to fill in the hole.
Figure: According to a survey from AutoNation, about 20% of car owners report getting scratches on their vehicle at least once a year.
Step 3: Fixing Light Surface Scratches
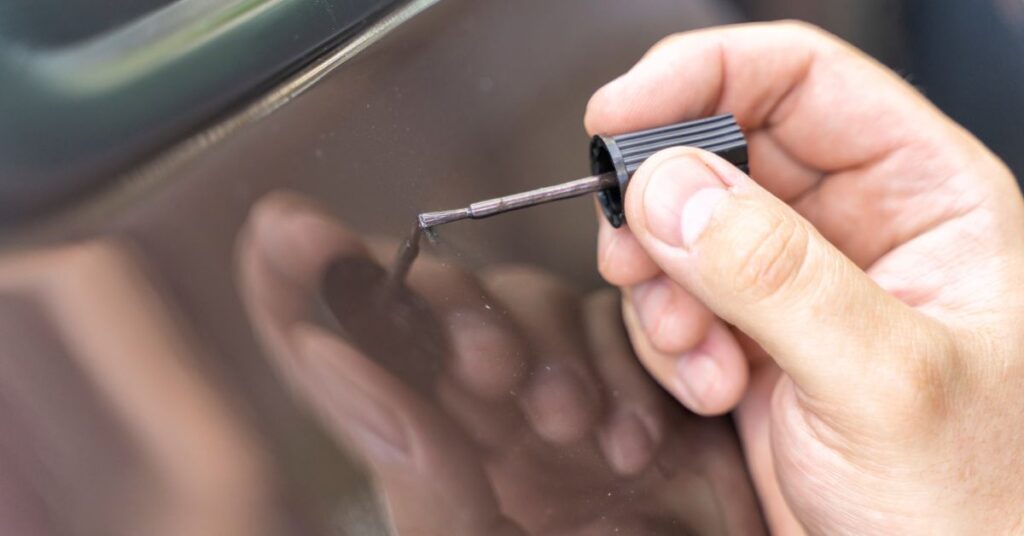
For light surface scratches, follow these steps:
- Apply the Scratch Repair Compound: Take a small amount of the scratch repair compound from your kit and put it on a clean microfiber cloth. Rub the compound into the scratch in small, circular motions. Make sure you cover the whole area of the scratch.
- Buff the Area: Once you’ve rubbed in the compound, use a clean, dry cloth to buff the area. This will remove any leftover compound and make the surface smooth and shiny.
- Repeat If Needed: If the scratch is still visible, repeat the process. For light scratches, this might be all you need to do.
Step 4: Fixing Deeper Scratches
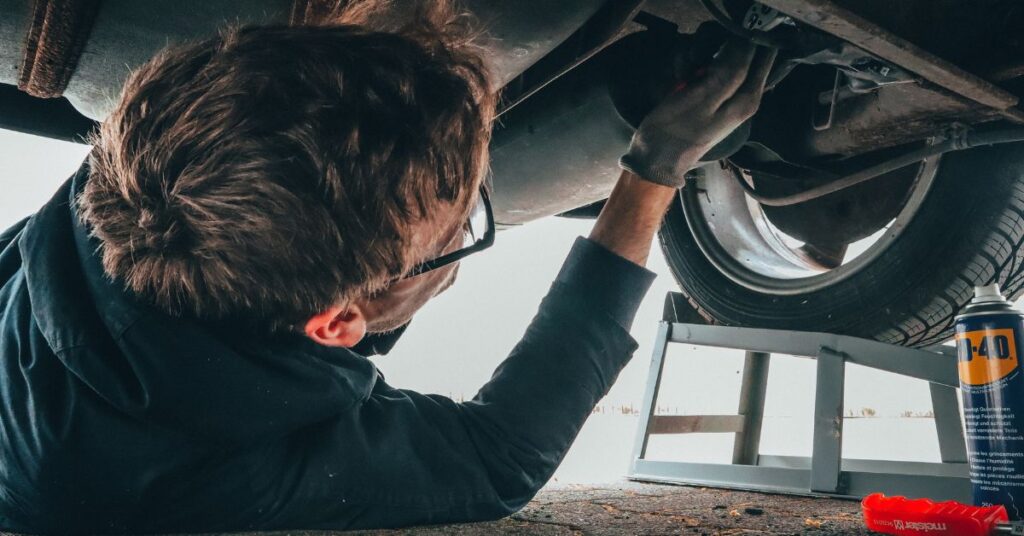
If the scratch is a little deeper, you’ll need to do a few extra steps:
Sand the Area (Optional):
If the scratch is a little deeper, you might need to use fine-grit sandpaper. Use very fine sandpaper (about 2000 grit) to gently sand around the scratch. Be careful not to sand too hard. You just want to smooth out the edges of the scratch.
Tip: When sanding, use water to keep the sandpaper moist. This helps reduce the risk of scratching the area further.
Apply Touch-Up Paint:
Once you’ve sanded the area, apply touch-up paint to the scratch. Use a small brush that comes with the touch-up paint kit and carefully paint the scratch. Make sure to follow the car’s color code. It’s important to apply a thin layer and let the paint dry completely before continuing.
Fact: Car manufacturers often provide a code for the paint color inside the door frame. You can use this code to find the exact match for your car’s paint.
Polish the Area:

After the paint has dried, use a polishing compound to blend the repair with the rest of the car. Apply the compound in a circular motion, and then buff the area with a clean microfiber cloth.
Apply Wax:
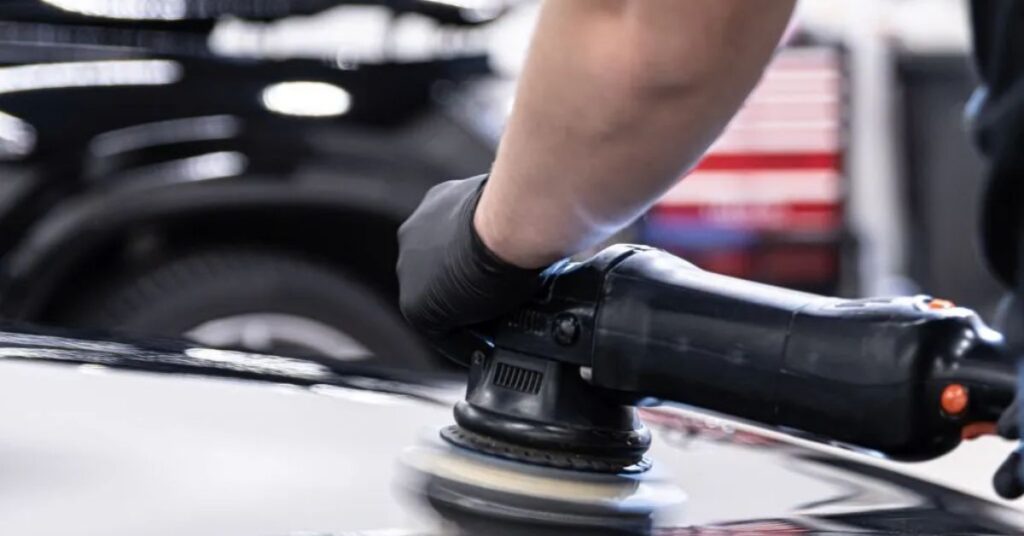
Finally, once the scratch is fixed, apply a coat of wax to the repaired area. Wax will protect the new paint and help it blend with the surrounding areas. It will also make the car look shiny and new!
Step 5: Prevent Future Scratches
Now that your car looks great again, let’s talk about how to prevent future scratches.
- Park Carefully: Always try to park in a safe spot away from other cars. Avoid tight parking spaces where you might accidentally hit another car.
- Use a Car Cover: If you’re parking outside, a car cover can protect your car from branches, debris, and other things that might scratch it.
- Regular Cleaning: Regularly wash your car and apply wax. Keeping your car clean will help protect the paint and prevent dirt from scratching the surface.
The Benefits of Fixing Scratches Yourself

There are many reasons why you should consider fixing scratches on your car yourself:
1. Save Money
One of the biggest advantages of DIY scratch repair is the money you can save. Professional repairs can be expensive, especially for small scratches. By using a scratch repair kit and following these steps, you can fix your car without paying for expensive repairs.
2. Learn New Skills
Fixing scratches on your car is a great way to learn new skills and improve your confidence. Once you’ve fixed your car once, you’ll feel ready to take on other small repairs in the future. It’s a great feeling to know you can take care of your own car!
3. Protect Your Car’s Value
Fixing small scratches helps keep your car looking new. A well-maintained car looks better and has a higher resale value. By fixing scratches right away, you’re making sure your car stays in great shape.
4. Convenience
Doing the repair yourself means you don’t have to spend time going to a repair shop. You can fix the scratch when it’s convenient for you, without waiting for an appointment or spending hours at the shop.
Fixing scratches on a car doesn’t have to be difficult or expensive. With a little time, some simple tools, and a scratch repair kit, you can restore your car’s paint and make it look as good as new. Remember, for surface scratches, a polishing compound will usually do the job. For deeper scratches, you may need touch-up paint. And don’t forget to apply wax to protect the repair!
Not only will fixing the scratches yourself save you money, but it’s also a chance to learn new skills and take care of your car. So, the next time your car gets a scratch, don’t stress just follow this guide, and you’ll have your car looking great in no time!


